Old Stones, New Seats: A Bench Protocol for Reclaimed Gemstones

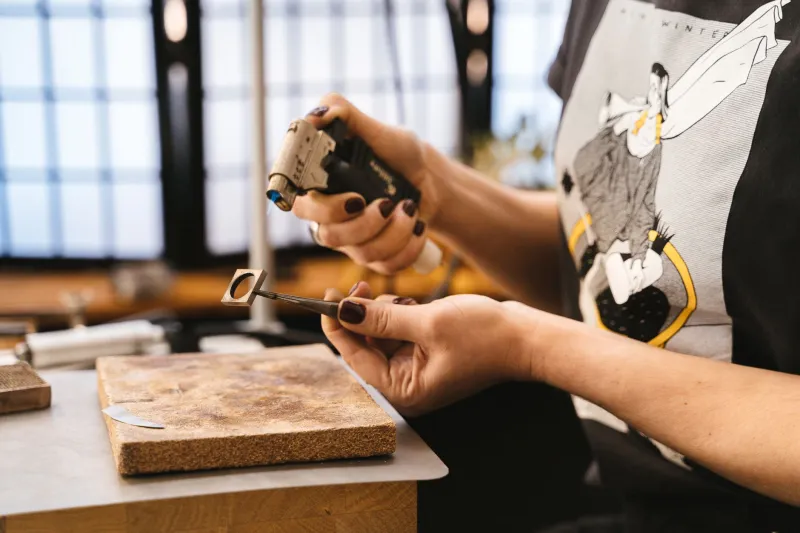
Photo: jeweller inspecting gemstone with loupe at workbench, UK jewellery workshop, close-up hands and tweezers, via i.pinimg.com
The case for a slower start
A salvaged stone arrives with history but without a warranty. It may have been worn for forty years, stored in a drawer, or purchased at a provincial auction without a grading report. For the UK jewellery student, that makes it an unusually honest teaching object: the stone cannot be replaced from stock, and the client's attachment to it is often stronger than its commercial value. The sustainable argument for reusing existing gems is sound, but it is only persuasive if the bench work is careful. The protocol below is designed to make that care repeatable.
Intake: photograph and record before you touch
Before any stone is removed from its mount, record it. Photograph the piece on a plain grey card under diffuse daylight, then again through a 10× loupe or a low-power microscope, capturing the table, the girdle and any visible inclusions or chips. Weigh the item and note dimensions with digital callipers. Ask the client how long they have owned it, whether it has been repaired before, and whether it has been heated or treated to their knowledge. The answers are often incomplete, which is itself useful information.
At Holt's Academy we teach students to treat every client stone as a loan with conditions. A simple intake sheet should record the date, the client's description, the mount type, the stone's apparent identity, and any pre-existing damage. Two signatures are better than one: the client's and the student's, with a clear statement that the stone's internal condition cannot be fully known without gemmological testing. This is not defensive paperwork for its own sake. It is the difference between a professional conversation and an argument.
Fracture, cleavage and the limits of the loupe
A 10× loupe will reveal surface-reaching fractures, abrasions on the facet edges, and the wear patterns that suggest a stone has been re-polished or re-set before. It will not reliably reveal fracture filling, glass filling, or diffusion treatment. Students should be honest about that boundary. Where the stone is emerald, tanzanite, opal, zircon or a heavily included sapphire, the safe assumption is that it is fragile until proven otherwise.
Use a fibre-optic light at a low angle to inspect the girdle for nicks, and check the pavilion for chips that may be hidden by the setting. If the stone is loose, examine it in a white dish with a soft liner; a dropped stone on a workshop floor is a lesson in humility that no student needs twice. Immersion in clean water or a suitable refractive liquid can help reveal internal fractures, but only where the stone is known to tolerate it. When in doubt, stop and refer the stone to a Gem-A qualified gemmologist. The referral is not a failure of the bench; it is part of the bench's professional standard.
Heat: the question that must come first
Most setting and finishing operations involve heat, and heat is the single greatest threat to a salvaged stone. Thermal shock can propagate an existing fracture; sustained low heat can damage treatments that are invisible to the loupe. Emeralds, opals, tanzanites and many treated stones should never be taken near a torch while set. Even stones that tolerate heat in theory may not tolerate it in practice after decades of wear.
The practical answer is sequencing. Where possible, complete all soldering, annealing and pickling on the mount before the stone is set, and send the metal for hallmarking at the Assay Office before the stone goes in. This is standard practice in the Birmingham Jewellery Quarter for good reason: it removes the stone from the heat entirely. If a repair genuinely requires heat near a set stone, use a heat shield, keep the flame local, and accept that some jobs should be declined. A refused job is cheaper than a cracked heirloom.
Setting: where good intentions crack stones
A salvaged stone is rarely a calibrated stone. Its girdle may be uneven, its pavilion may be deep, and its dimensions may not match any standard seat. Students should expect to cut the seat to the stone rather than force the stone into a standard seat. Prongs should be adjusted with controlled pressure, not levered; bevelled and polished prong tips reduce the risk of chipping a girdle. For bezel settings, burnish gradually and check the stone's seating after every pass. Brittle stones such as opal and emerald demand a light touch and a willingness to stop.
The most common student error is over-tightening. A stone that is held securely but not compressed is the goal. Test the setting by gentle probing, not by shaking the piece. If the stone moves, correct the seat rather than closing the prongs harder. Ultrasonic cleaning should be avoided for opals, emeralds, pearls and any stone suspected of fracture filling; a soft brush and lukewarm water are safer for the vast majority of salvaged pieces.
Paperwork, consent and the client conversation
Before work begins, the client should understand what the bench can and cannot guarantee. A short written summary should state the stone's apparent condition, the proposed work, the risks associated with heat and setting, and the limits of the studio's insurance. In the UK, students working on client stones should confirm their course insurance and the studio's liability position before accepting the job. This is not bureaucracy; it is the framework that allows a careful bench to take on meaningful work.
Rehearsal exercises for the student bench
Before a real stone is involved, rehearse with substitutes. Set glass or synthetic stones of similar hardness and shape into copper and brass mounts, then repeat the exercise with a deliberately awkward shape: an oval with a thin girdle, a cushion with a chipped corner, a cabochon with an uneven base. Practise removing a stone from a mount without levering it, and practise writing the intake sheet and condition report for each exercise. The aim is not speed. The aim is a sequence that becomes automatic under pressure.
Two realistic 2026 projects
A pendant re-set is the ideal first salvaged-stone project: a single stone, a simple bezel or four-claw mount, and no complex articulation. A second project might be a ring re-model where the client's stone is transferred into a new mount made and hallmarked before the stone is set. Both projects teach the same lesson: the stone dictates the order of work, not the other way round.
The sustainable argument is also the careful one
Reusing a stone is a genuine contribution to a more sustainable jewellery trade in the UK, but it is only sustainable if the stone survives the process. The protocol above is deliberately conservative. It asks students to record, to refer, to sequence and sometimes to decline. Those habits are not obstacles to creativity. They are the conditions under which a salvaged stone can safely begin its second life.