After the Polish: A Repeatable Photography Workflow for UK Jewellery Applications
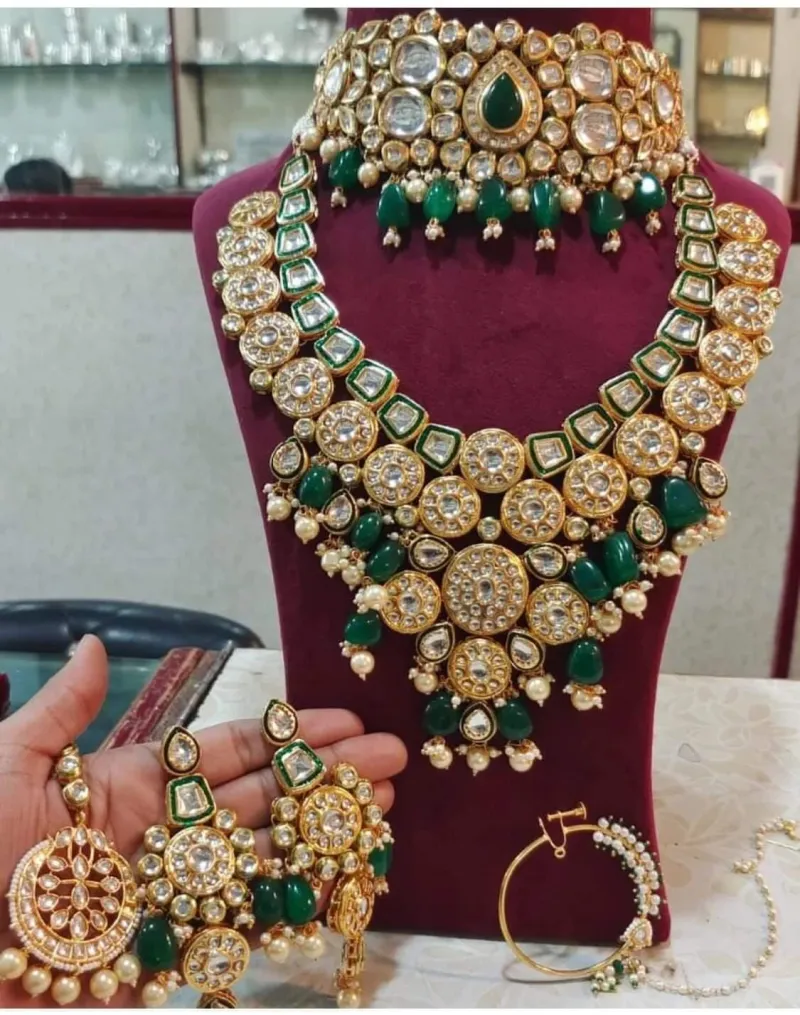
Photo: jewellery photography setup north window diffuser grey card tripod neutral background, via zevar.com
For many student jewellers, the photograph is the last task before a deadline: a phone, a windowsill, a piece of A4. That approach may produce a charming image, but it rarely answers the questions a jury asks. In UK applications—craft fairs, gallery submissions, course portfolios, competitions—the image is often the first and only evidence of the work. It should be made with the same deliberation as a setting or a solder joint.
The second bench
Photography is a bench-adjacent craft. It requires controlled conditions, repeatable steps and a willingness to inspect. Treat the camera as a second bench: a place where the piece is examined, not merely recorded. The aim is not glamour but clarity: accurate colour, credible scale, visible construction and no ambiguity about what is being submitted.
Daylight without weather
Daylight is ideal because it renders metal and stone colour naturally, but British daylight is unreliable. Build a setup that uses daylight without depending on the weather. A north-facing window is traditional for good reason: indirect light is softer and more consistent. Place the piece on a table perpendicular to the window, with a sheet of diffusing material—tracing paper, frosted acrylic or a photographic diffuser—between window and subject. Use white foam board opposite the window to bounce light into shadow, and black card where a darker edge is needed to define a silver rim or a pale stone. Avoid direct sun, which creates hard shadows and blown highlights.
If the window is unsuitable, a daylight-balanced LED panel with a diffuser can stand in, provided it is used consistently. Consistency matters more than luxury. A modest lamp used the same way every time will produce a more coherent submission than a borrowed studio light used once.
Background, scale and the honest frame
Choose a background that does not compete: mid-grey card, off-white or black, depending on the piece. Mid-grey is a safe default because it sits neutrally against both silver and gold. Keep the surface clean and free from texture. A small sweep of card behind the piece removes the horizon line and prevents distracting edges.
Scale is where many submissions fail. A ring photographed alone can look monumental; a brooch can look like a pendant. Include a scale cue in at least one image: a metal rule marked in millimetres, placed parallel to the piece and within the same focal plane. Do not use a coin as a scale reference; coins vary and mean little to an international juror. A rule is unambiguous. For a full set, keep the same framing and scale cue so that the jury can compare pieces directly.
Camera, lens and repeatable settings
A modern phone can produce jury-ready images if it is controlled. Use a tripod or a stable support. Turn off automatic HDR and beauty filters. Use manual focus or tap to focus on the most important detail. For a digital camera, a macro lens or a close-focusing zoom is useful, but a standard lens stopped down to f/8 or f/11 will often give enough depth of field. Avoid the widest aperture, which leaves only a sliver of the piece sharp.
Set white balance manually or use a grey card in the first frame. Shoot in raw if the camera allows, or in the highest-quality JPEG. Bracket exposure if uncertain: one frame as metered, one slightly darker, one slightly lighter. Review on a larger screen, not only on the camera back. The camera's screen flatters; a laptop reveals dust, fingerprints and missed focus.
Retouching that remains honest
Retouching should correct the photograph, not redesign the piece. Remove dust, stray fibres and sensor spots. Correct white balance and exposure. Crop to a consistent ratio. Straighten the piece. What should remain is the truth of the object: its proportions, its surface, its hallmarks, its setting, its colour. Do not erase tool marks that are part of the finish unless they are accidental and would be removed before sale. Do not alter the shape of a stone, add missing stones or change metal colour. If a piece has a flaw that a jury should know about, either repair it before photography or disclose it in the application. A jury that discovers a discrepancy at interview will not be reassured by a beautiful file.
A jury-ready checklist
Before submitting, run a final check:
- Is the piece clean and free from fingerprints?
- Is the background neutral and free from texture?
- Is there at least one image with a millimetre scale?
- Is the colour accurate against a grey card?
- Is the focus on the most important detail?
- Are highlights controlled rather than blown?
- Is the image free from dust and stray fibres?
- Has the piece been retouched only for correction, not alteration?
- Are file names, dimensions and formats compliant with the call?
- Does the set include a full view, a detail and a reverse or hallmark view where relevant?
Keep a written record of the setup: camera height, distance, background, light position and settings. The next piece can then be photographed in the same conditions. Over a portfolio, this consistency becomes an editorial voice. It tells the jury that the maker is organised, observant and serious about evidence.
The image as evidence
For UK applications in 2026, competition is not only in the making. It is in the submission. A clear, honest, repeatable photograph does not make a weak piece strong, but it allows a strong piece to be seen. Treat the camera as part of the bench: another tool to be mastered, another standard to be rehearsed. The result is not a performance of glamour but a record of craft—precise enough for a jury, honest enough for the maker.